


THE MINUTEMAN Vol 7, November 2023
Books, Woobies, and Battle Belts!


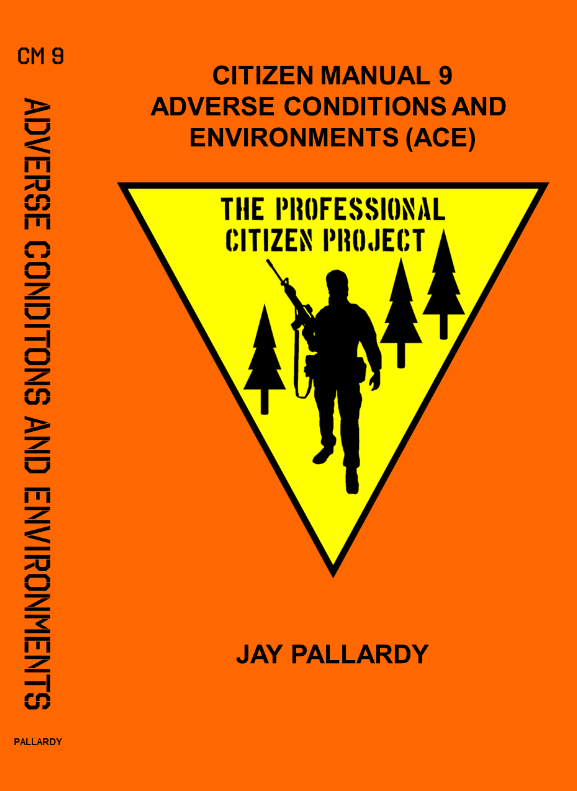
The Professional Citizen Project CM-9, Adverse Conditions & Environments (ACE) by Jay Pallardy….
You read that right, I was asked several months ago to write a book by the folks at The Professional Citizen Project! I have to be honest, I am not a writer, I'm scared to death of it in fact. So, me write a book…
But, after a phone call with Jack Morris and thinking (and praying) really hard about it, I decided to take on the project! Jack convinced me that I had a story to tell folks and that my background and experience in the outdoors was perfect to write this specific book. I needed practice and that was where these newsletters all started (and they'll continue). They gave me an outlet to work on writing and I actually kind of liked it! Jack was a huge cheerleader for me and was always available when I had questions or issues.
But enough about that, let's talk about the book.
I firmly believe in learning, and then mastering, the basics of working in the outdoors. There is a process to this and, unfortunately, we never get to see it. We are inundated with these polished images of guys in full kit out doing cool guy stuff so we, as a community, try to emulate that. But we never get shown how to get there. So the goal of this book was not to give a tactical lecture on everything we already see, but instead to give a beginners level course on the basics of general outdoor gear, clothing, leadership philosophies and methods, rescue, wilderness travel, survival priorities, mindset, attitude, and a whole lot more.
Throughout the book I also share some personal stories to help with understanding the point of view that I approached this from. My wife and friends have told me for years that I have a story to tell after 3 decades worth of adventures, and this book gives me that chance to share some of what I know with you great folks.
At the end of the day, my hope is that you get encouragement and find inspiration to get better prepared for working in the outdoors and that it causes you to strive to become a master at this craft!
You can order the CM-9 manual at the link below starting 11/24/2023 :
The Professional Citizen Project
The Woobie
Ah, the infamous Woobie! I never served in the military so I don’t have quite the sentimental connection that so many veterans have but I did grow up with them in the house. Being an Army kid there were always two or three laying around the house to cover up with or to take on camping trips. But it wasn’t until several years ago that I rediscovered the Woobie and created my own emotional attachment to it.
For those who don’t know what a Woobie is, here is a quick definition from Wikipedia concerning it…
“The woobie is a piece of field gear originating in the United States military that can be attached to a standard issue poncho to provide additional warmth, as well as being usable as a blanket, sleeping bag or protective cover. It consists of quilted nylon with a polyester filling. It is attached to the poncho by means of integral lengths of material which are looped through the poncho's eyelets.
Poncho liners were first used by the U.S. military in the Vietnam War. They gained the nickname "woobie" later; that term is conjectured to have derived from the name for a child's security blanket in the 1983 movie Mr. Mom.”
Today the woobie is more than just a blanket! You can get Woobie Hoodies, Woobie smoking jackets, hooded poncho liners, and even woobies that can be used as a multi-use field item.
I am a woobie fan owning regular poncho liners, multiple woobie hoodies, and even one of the purpose built, multi-use woobies in a Helikon-Tex Swagman Roll basic.
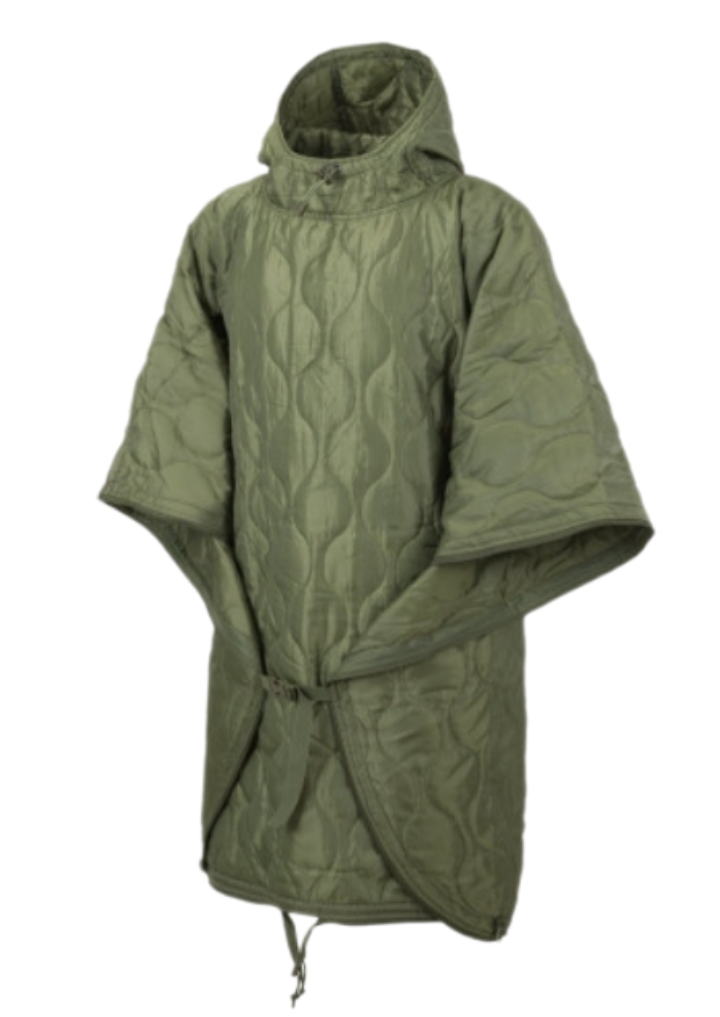
This has quickly become one of my favorite pieces of kit for so many reasons. It can be used as an emergency jacket, sleeping bag/sleeping bag insert, blanket or hammock underquilt.
Regardless of the type of woobie, I firmly believe it is a must have item in everyone’s kit.
The Battle Belt
Battle Belt, War Belt, or Range Belt, whatever you may call it this basic belt kit is usually the first piece of kit a guy will put together.
At its base level, a battle belt is really for supporting your primary and secondary firearm. Add a holster, rifle and pistol magazine pouches, an IFAK, maybe a light and knife, and possibly a dump pouch and you’re good to go.
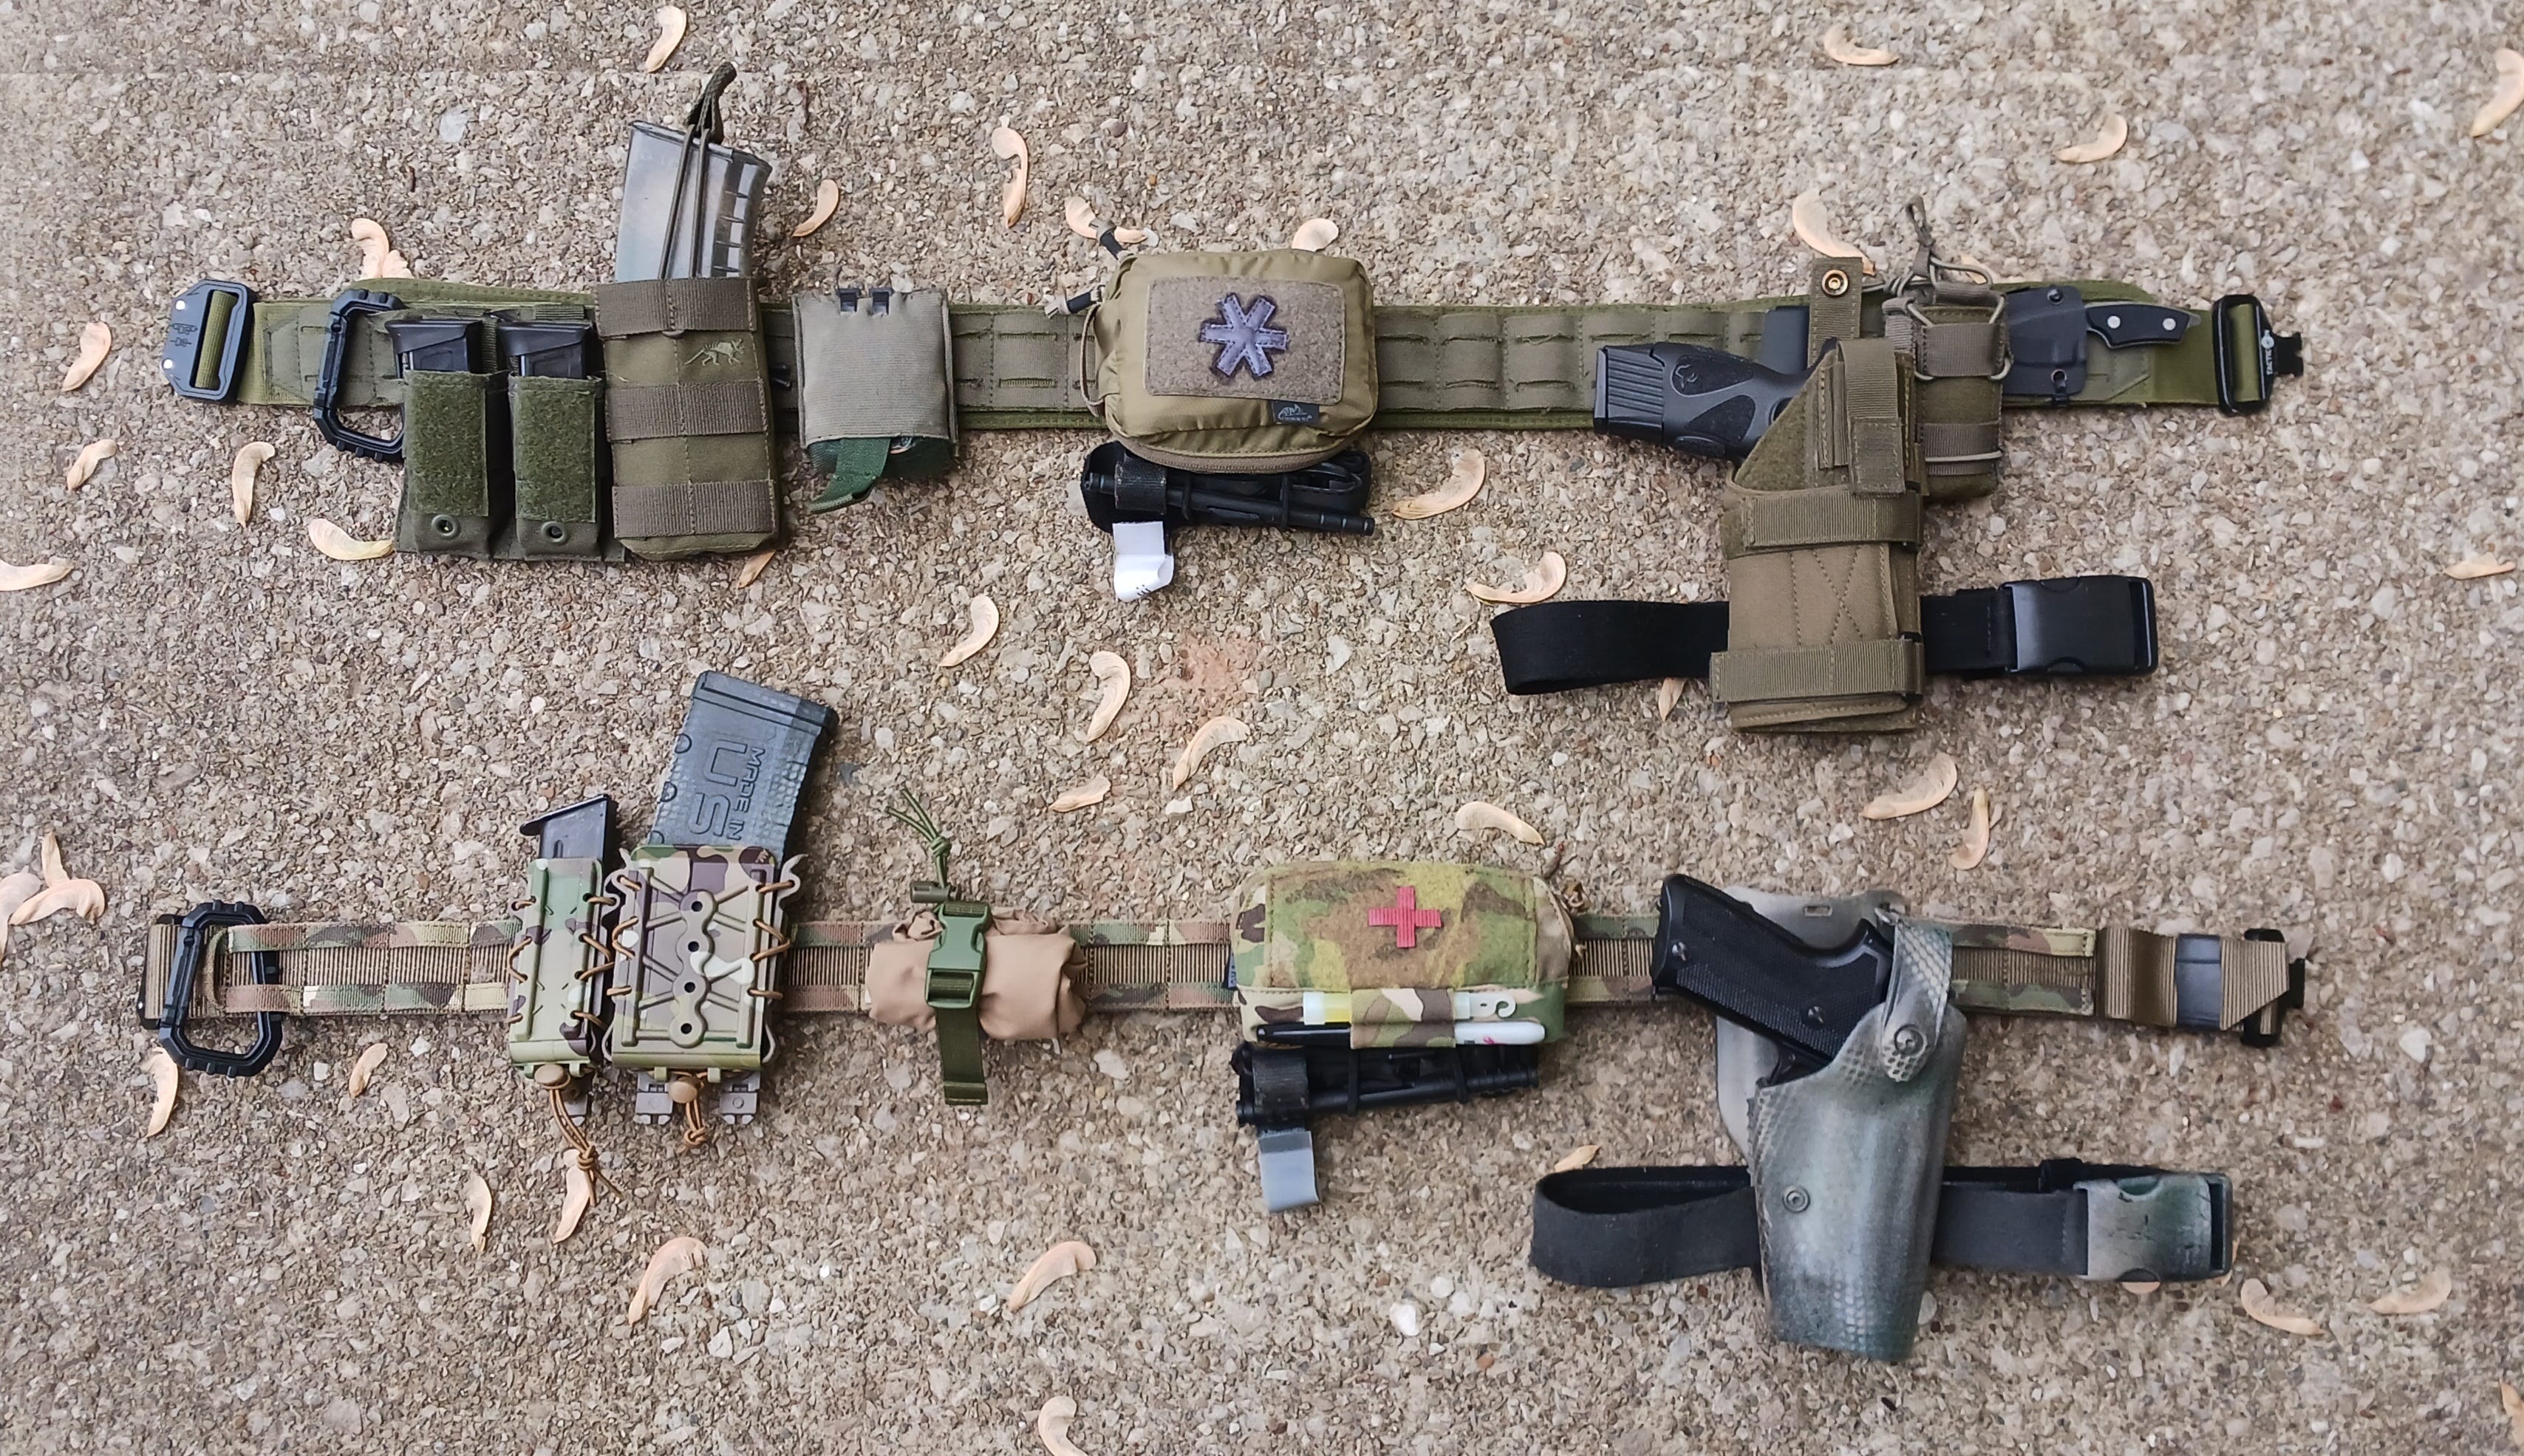
Personally, I like keeping it basic. As you can see in the examples above they are not overly weighed down with stuff. Under 8 lbs fully loaded. Literally the basics. Think of this as your tool belt or even as your work station.
Mine are used primarily for out on the range or for a quick ready rig at the house. So I really don’t need much. For classes they are great for keeping your reloads on you instead of in your pants pockets.

One of the biggest things you will need to consider is if you want a padded belt set up or a 2-piece set up with a velcro inner belt. I own both, use both, and really don’t have a preference. I have found that when wearing layers in the colder weather that it is nice to have the padded overbelt for accommodating layers underneath.

Your 2-piece belts are nice in warmer weather when wearing light layers. It is also a bit lower profile. You do need to wear some sort of a velcro inner belt as your normal pants belt because the outer Molle portion will attach to that. It now becomes attached to you.

Some things to pay attention to.
First off, don't overload it with “stuff”. Making holes and plugging holes is what you're after.
Second, mount your pistol in a way that is natural for you to grab, yet clear of other gear like plate carriers, chest rigs, and pack straps. You can tell from my setups above that I prefer to have the heel of my pistol grip at or just below the top of the belt. I have found this to be the optimal placement FOR ME.
Keep the front, over your thighs, clear. You do not want to impede maneuverability when running, lying down, or clearing obstacles. Also, make sure that the placement of your IFAK is accessible with both hands.
Finally, go use it. Adjust the positioning of pouches, your holster, etc until it works just right for you.