

THE MINUTEMAN Volume 11, March 2024
MURS Frequencies, Binoculars/Monoculars, and The Art of Suffering...

MURS Radio Frequencies…
I had read an article many years ago on MURS usage and have primarily used it ever since...
MURS stands for Multi User Radio Service… It was formerly reserved for business use but the FCC has kept 5 MURS frequencies license free and open for public use since 2000.
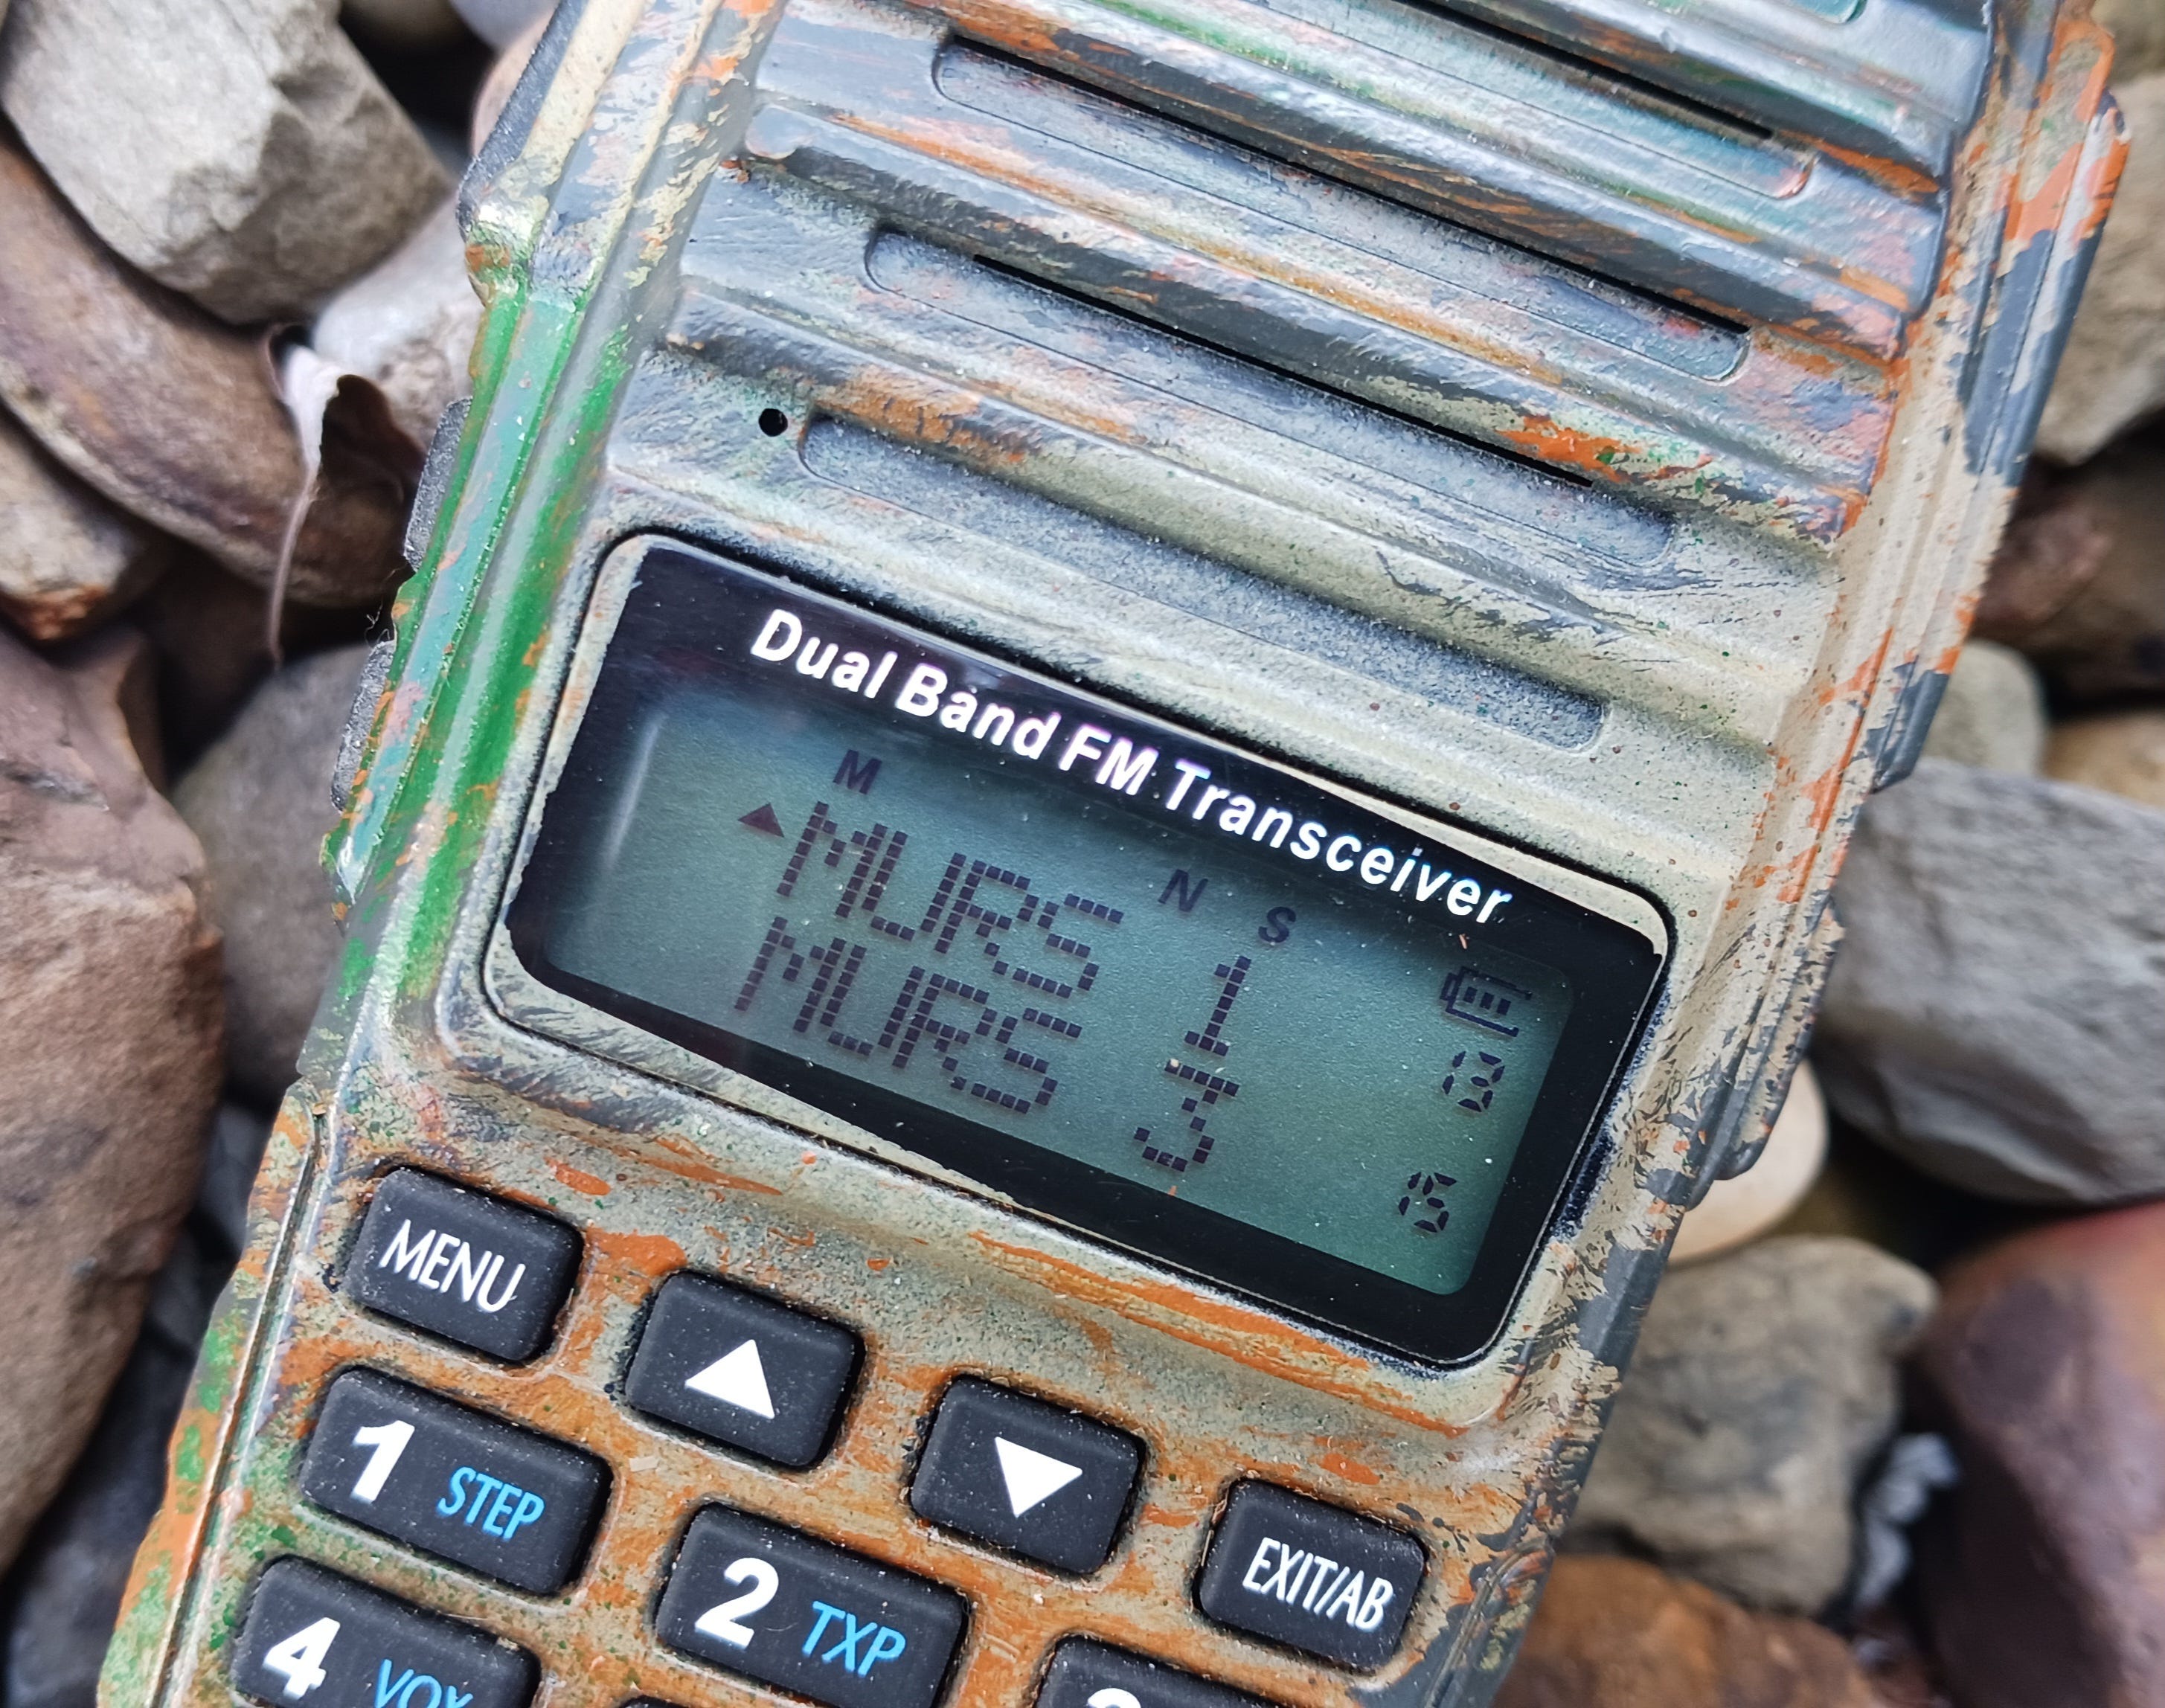
The five MURS frequencies are listed below, The 154 MHz channels can be operated on the standard 25 kHz wide band or narrow band mode. The 151 MHz channels can only be operated in narrow band mode.
151.820 MHz
151.880 MHz
151.940 MHz
154.570 MHz
154.600 MHz
It has a lot of advantages in the field.
-External antennas up to 60'
-transmit up to 2 watts power
-signal bends over hills better than FRS/GMRS
-38 PL codes available per MURS frequency giving a combination of 190 different MURS channels, so while not encrypted someone would have to be on the same channel as you to hear you
-can transmit voice and data
Oh, and NO LICENSE....
So let’s do some comparisons between services…
Compared with FRS (Family Radio Service) at 460 MHz:
MURS (at 150 MHz) permits four times more power (2 Watts TPO instead the 0.500 Watts ERP limit for FRS).
At MURS frequencies, signals bend over hills better, but FRS signals are better at bouncing off of surfaces and penetrating into/escaping out of buildings.
You may connect a MURS radio to an external or exterior antenna. FRS radios must employ a non-detachable antenna. For vehicle-to-vehicle operation with external (roof-mount) antennas, MURS should provide three to ten (or more) times the range possible with FRS radios.
Compared with GMRS (General Mobile Radio Service) at 460 MHz:
GMRS handheld radios have typically two to five watts transmitter power. GMRS vehicular units transmit typically with ten to 50 watts. There is no limit on the ERP of GMRS stations operating on the primary channels. GMRS stations may transmit with no more the 5 Watts ERP on the seven “interstitial” frequencies (those shared with the FRS).
GMRS operation requires an FCC license.
At MURS frequencies, signals bend over hills better, but GMRS signals are better at bouncing off of surfaces and penetrating into/escaping out of buildings.
For vehicle-to-vehicle operation with external (roof-mount) antennas, MURS should provide one-and-a-half to four times the range possible with GMRS handheld radios also connected to roof-mount antennas. Depending on the surrounding terrain, MURS units connected to roof-mounted antennas might even outperform full-power (50 watt) GMRS mobile units, although the GMRS units should have a greater range in open terrain.
Many GMRS radios can communicate through repeater stations for extended range (typically up to twenty miles or more, sometimes much more). The new FCC Rules will prohibit repeaters in MURS.
Compared with CB (Citizens Band Radio) at 27 MHz:
CB radios may transmit with more power than MURS units may, but communications range is highly dependent on channel congestion and atmospheric conditions. CB communications can also be significantly degraded by noise from vehicle ignition systems and from other man-made sources.
CB signals bend over hills and around obstacles much better than MURS (at 150 MHz) or FRS/GMRS (at 460 MHz) signals.
Vehicle-to-vehicle MURS communications will probably be comparable and possibly quite superior to that available in the CB service.
MURS communications will not suffer from the kind of long-range “skip” interference frequently encountered on CB radio at 27 MHz.
Keep in mind on all these comparisons that MURS has its benefits, but GMRS requires an FCC license to operate on.
The Art of Suffering…
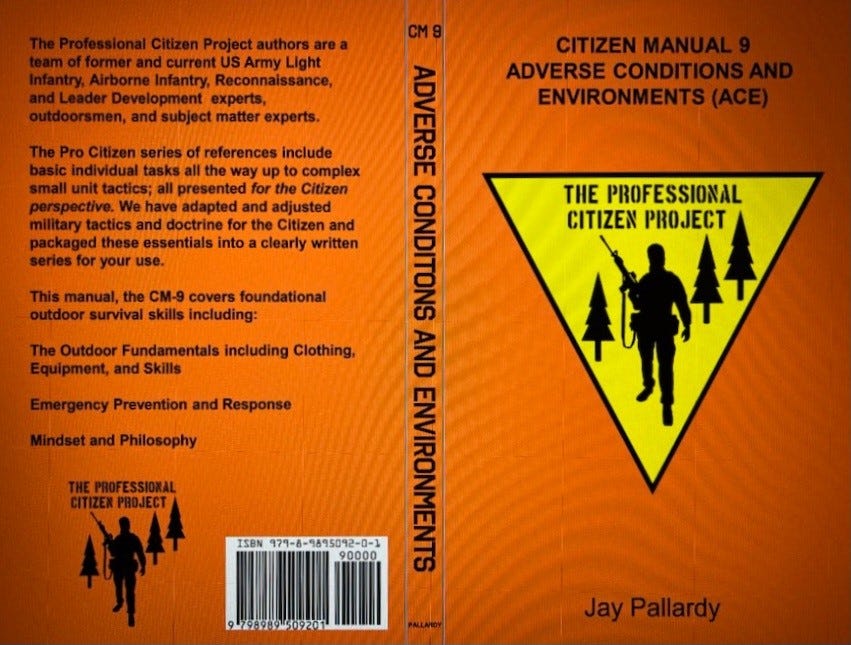
(Book Excerpt from CM-9 Adverse Conditions and Environments)
In the world of climbing, we had used the phrase “The Art of Suffering” as a way to say, “Embrace the Suck”. It’s the same philosophy, just different people.
But, in application, it is a mindset of pushing through conditions, both mental and physical, beyond what you may normally find acceptable. It is a way to lean into the suffering and to get comfortable being very uncomfortable. This doesn’t happen overnight and takes not just experience, but it also requires a state of mind in literally embracing the challenge ahead. This can be applied to not just the field, but everyday life as well.
Don’t be afraid to challenge yourself and look for ways to maximize your strong points, and where you may be mentally comfortable and satisfied. Go experiment with different methods, conditions, and gear and see how you perform physically and mentally. Push yourself to see what your limits might be. I routinely do this when it comes to weather conditions. Picking freezing temps or less than ideal conditions, I will make a field exercise out of it to see how I handle the extremes. Maybe it is using minimal sleep kit on a cold night, maybe it is a rainy night out in a poncho shelter, or it could even be a 24-hour exercise with using only what you can carry in your pockets. Whatever it is you can only truly know yourself by pushing yourself. Do not use other folks accomplishments to judge your own by.
Ever hear the phrase “you don’t have to like it, but you have to do it”? Well, that goes along the same lines as “Embrace the Suck” too. In the field we don’t always get the perfect day, in fact it never really goes as planned. Rain, wind, snow, heat, difficult terrain, mud, whatever it may be, you need to be able to get comfortable being out in it. Every winter I do a solo cold camp where I wait until an especially sucky, cold, and snowy day and I hit the woods with minimal kit for a 24-hour outing. My wife will shake her head telling me I’m crazy, my son will tell me “no” when I ask him to go (but he will go), but I do it as a test. There have been times that I don’t sleep at all, there have been times that the stars line up and I slept like a baby, and other times I have willingly stayed up listening to the coyotes call to each other all night while I try to find out where the packs are. This yearly sabbatical to test my grit is my favorite field exercise of the year. It embodies the willingness to suffer. It is a mental test for me. Experience has taught me that physically I can do it, no issues there, but it is the mental test that intrigues me every year.
So herein lies the challenge of this philosophy, do you have what it takes to push through adversity? Physically, emotionally, and mentally? How do you really know? This is why we preach getting out into the field. Create scenarios and exercises to work on. Do it with full kit and then with minimal kit. Do it in bad weather and in good weather and everywhere in between. Push yourself until you don’t think you can take another step or another moment and then take that next step. You will be surprised at just how far you can go if you can mentally accept the discomfort you’re going to feel.
***If you haven’t already, check out my book on surviving Adverse Conditions and Environments (ACE), along with the others from The Professional Citizen Project, and learn more about being prepared to survive what may be coming…
https://tpcproject.com/products/citizen-manual-9-ace-adverse-conditions-and-environments
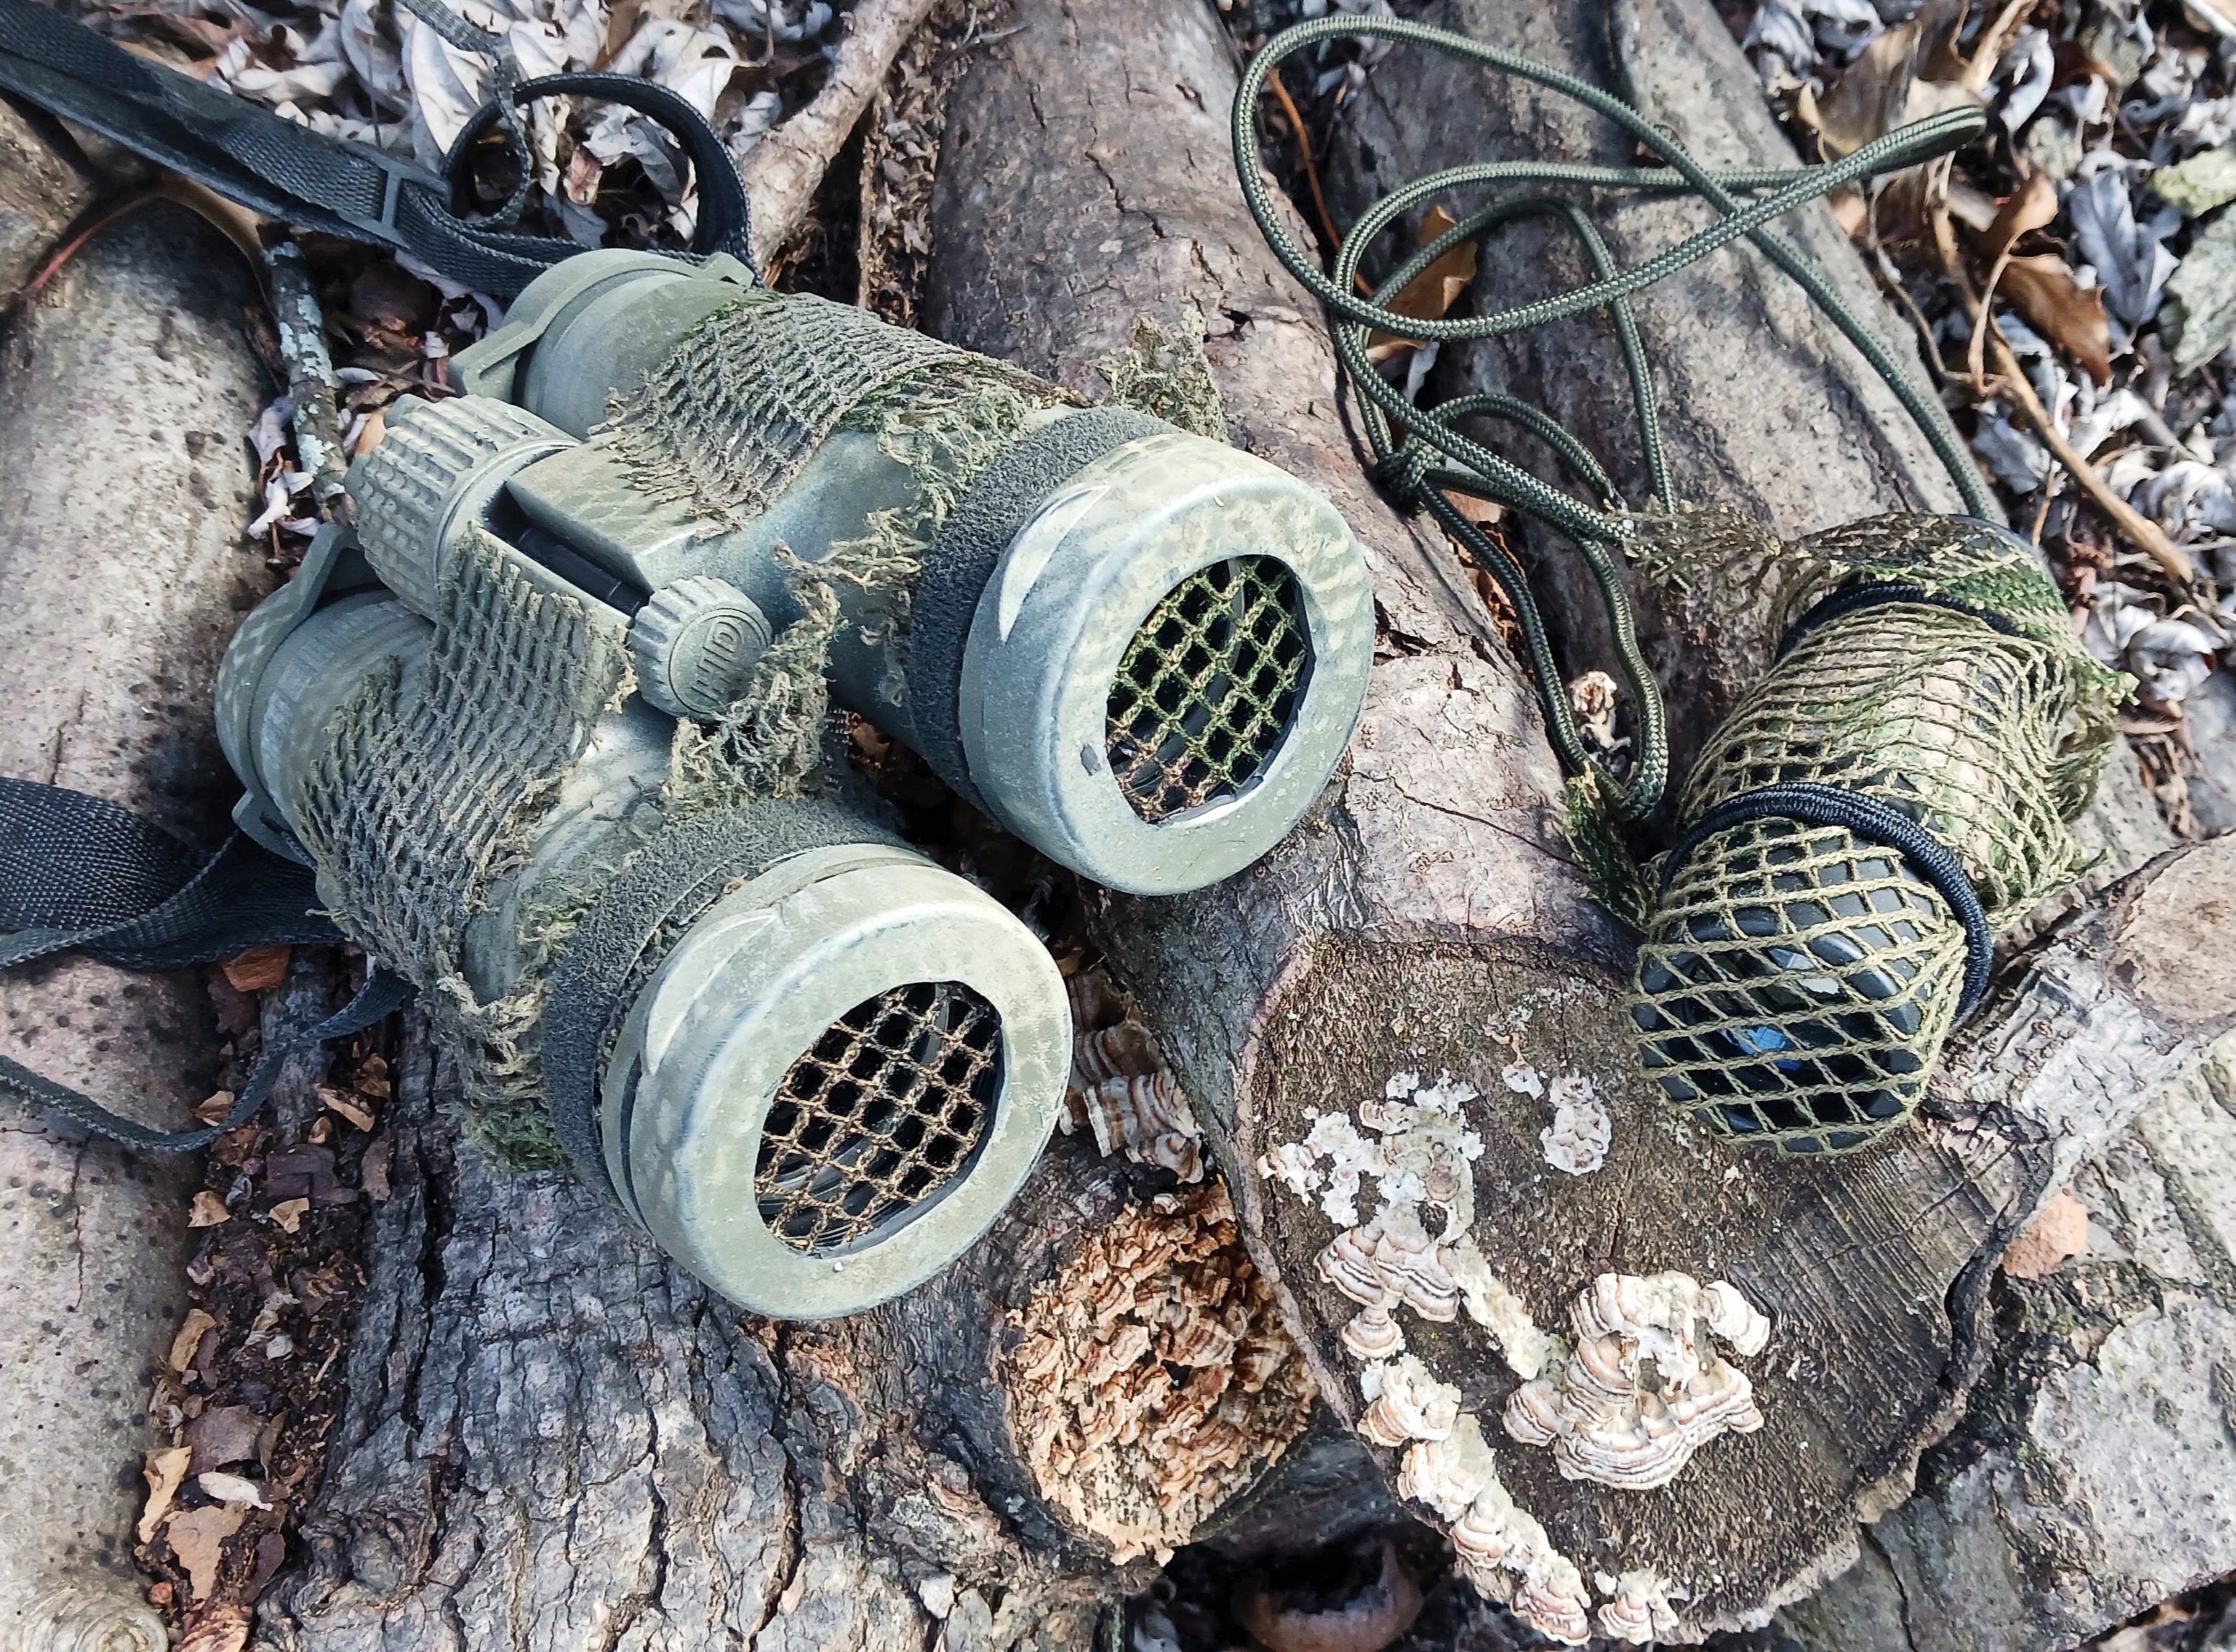
Observation Tools: Binoculars/Monoculars…
Special tasks require special tools and when occupying an OP/LP (observation post/listening post) you will end up spending quite a bit of time looking through a pair of binoculars.
Unfortunately, there is a learning curve to binoculars but with a little bit of education and understanding you can confidently shop, purchase, and effectively use the optics of your choice in the field. So let’s take a look (no pun intended) at some of the basics of optics…
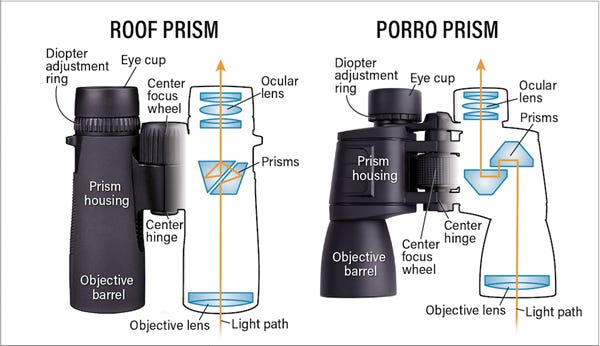
Types of Binoculars:
Porro prism binoculars: These offer more optical quality for the same amount of money, but are bulkier and heavier. These are the ones with the familiar shape, with the eye piece lenses closer together and the larger objective lenses, away from the observer's eyes, further apart. A second variation seen in miniatures places the two objectives closer together than the eyepieces. They both also, due to the way they're built, are more vulnerable to getting knocked out of alignment, causing the person to see double when trying to look through them. Just the normal shocks and bounces of shipping from manufacturer to the store will often knock some of these binoculars out of alignment, especially the cheaper ones. You shouldn't buy these at the store without checking them first for alignment (“collimation”).
Roof prism binoculars: are lighter in weight, more visually pleasing with the straight-through shape, and cost more to get good optical quality. They also are easier to make waterproof, important for keeping material from getting inside and fogging up the view. They also are less prone to getting knocked out of alignment. Most of the high-priced premium binoculars offered for sale for over a thousand dollars are waterproof roof prism binoculars. This offers better protection for the investment in costly low-dispersion glass in the lenses and fancy multi-layered anti-reflective coatings on the lenses and prism surfaces.
But what about those mini-sized binoculars or monoculars? Some ultra-cheap options are available with objective lenses about an inch in diameter (21 to 28mm diameter - an inch is 25.4mm). They are very small and easy to stuff in a pocket on a chest rig and weigh next to nothing. But they have a problem - they are tiny and weigh next to nothing. In your hands they don't hold steady. Larger, heavier binoculars tend to hold steadier in your hands, so the image doesn't jump around as much. This jumpy image is also a problem with higher magnification even in the larger, heavier binoculars. With that said, for a quick look over a rise in the landscape or down a road, they are better than nothing and you’ll probably be glad you had them to use.
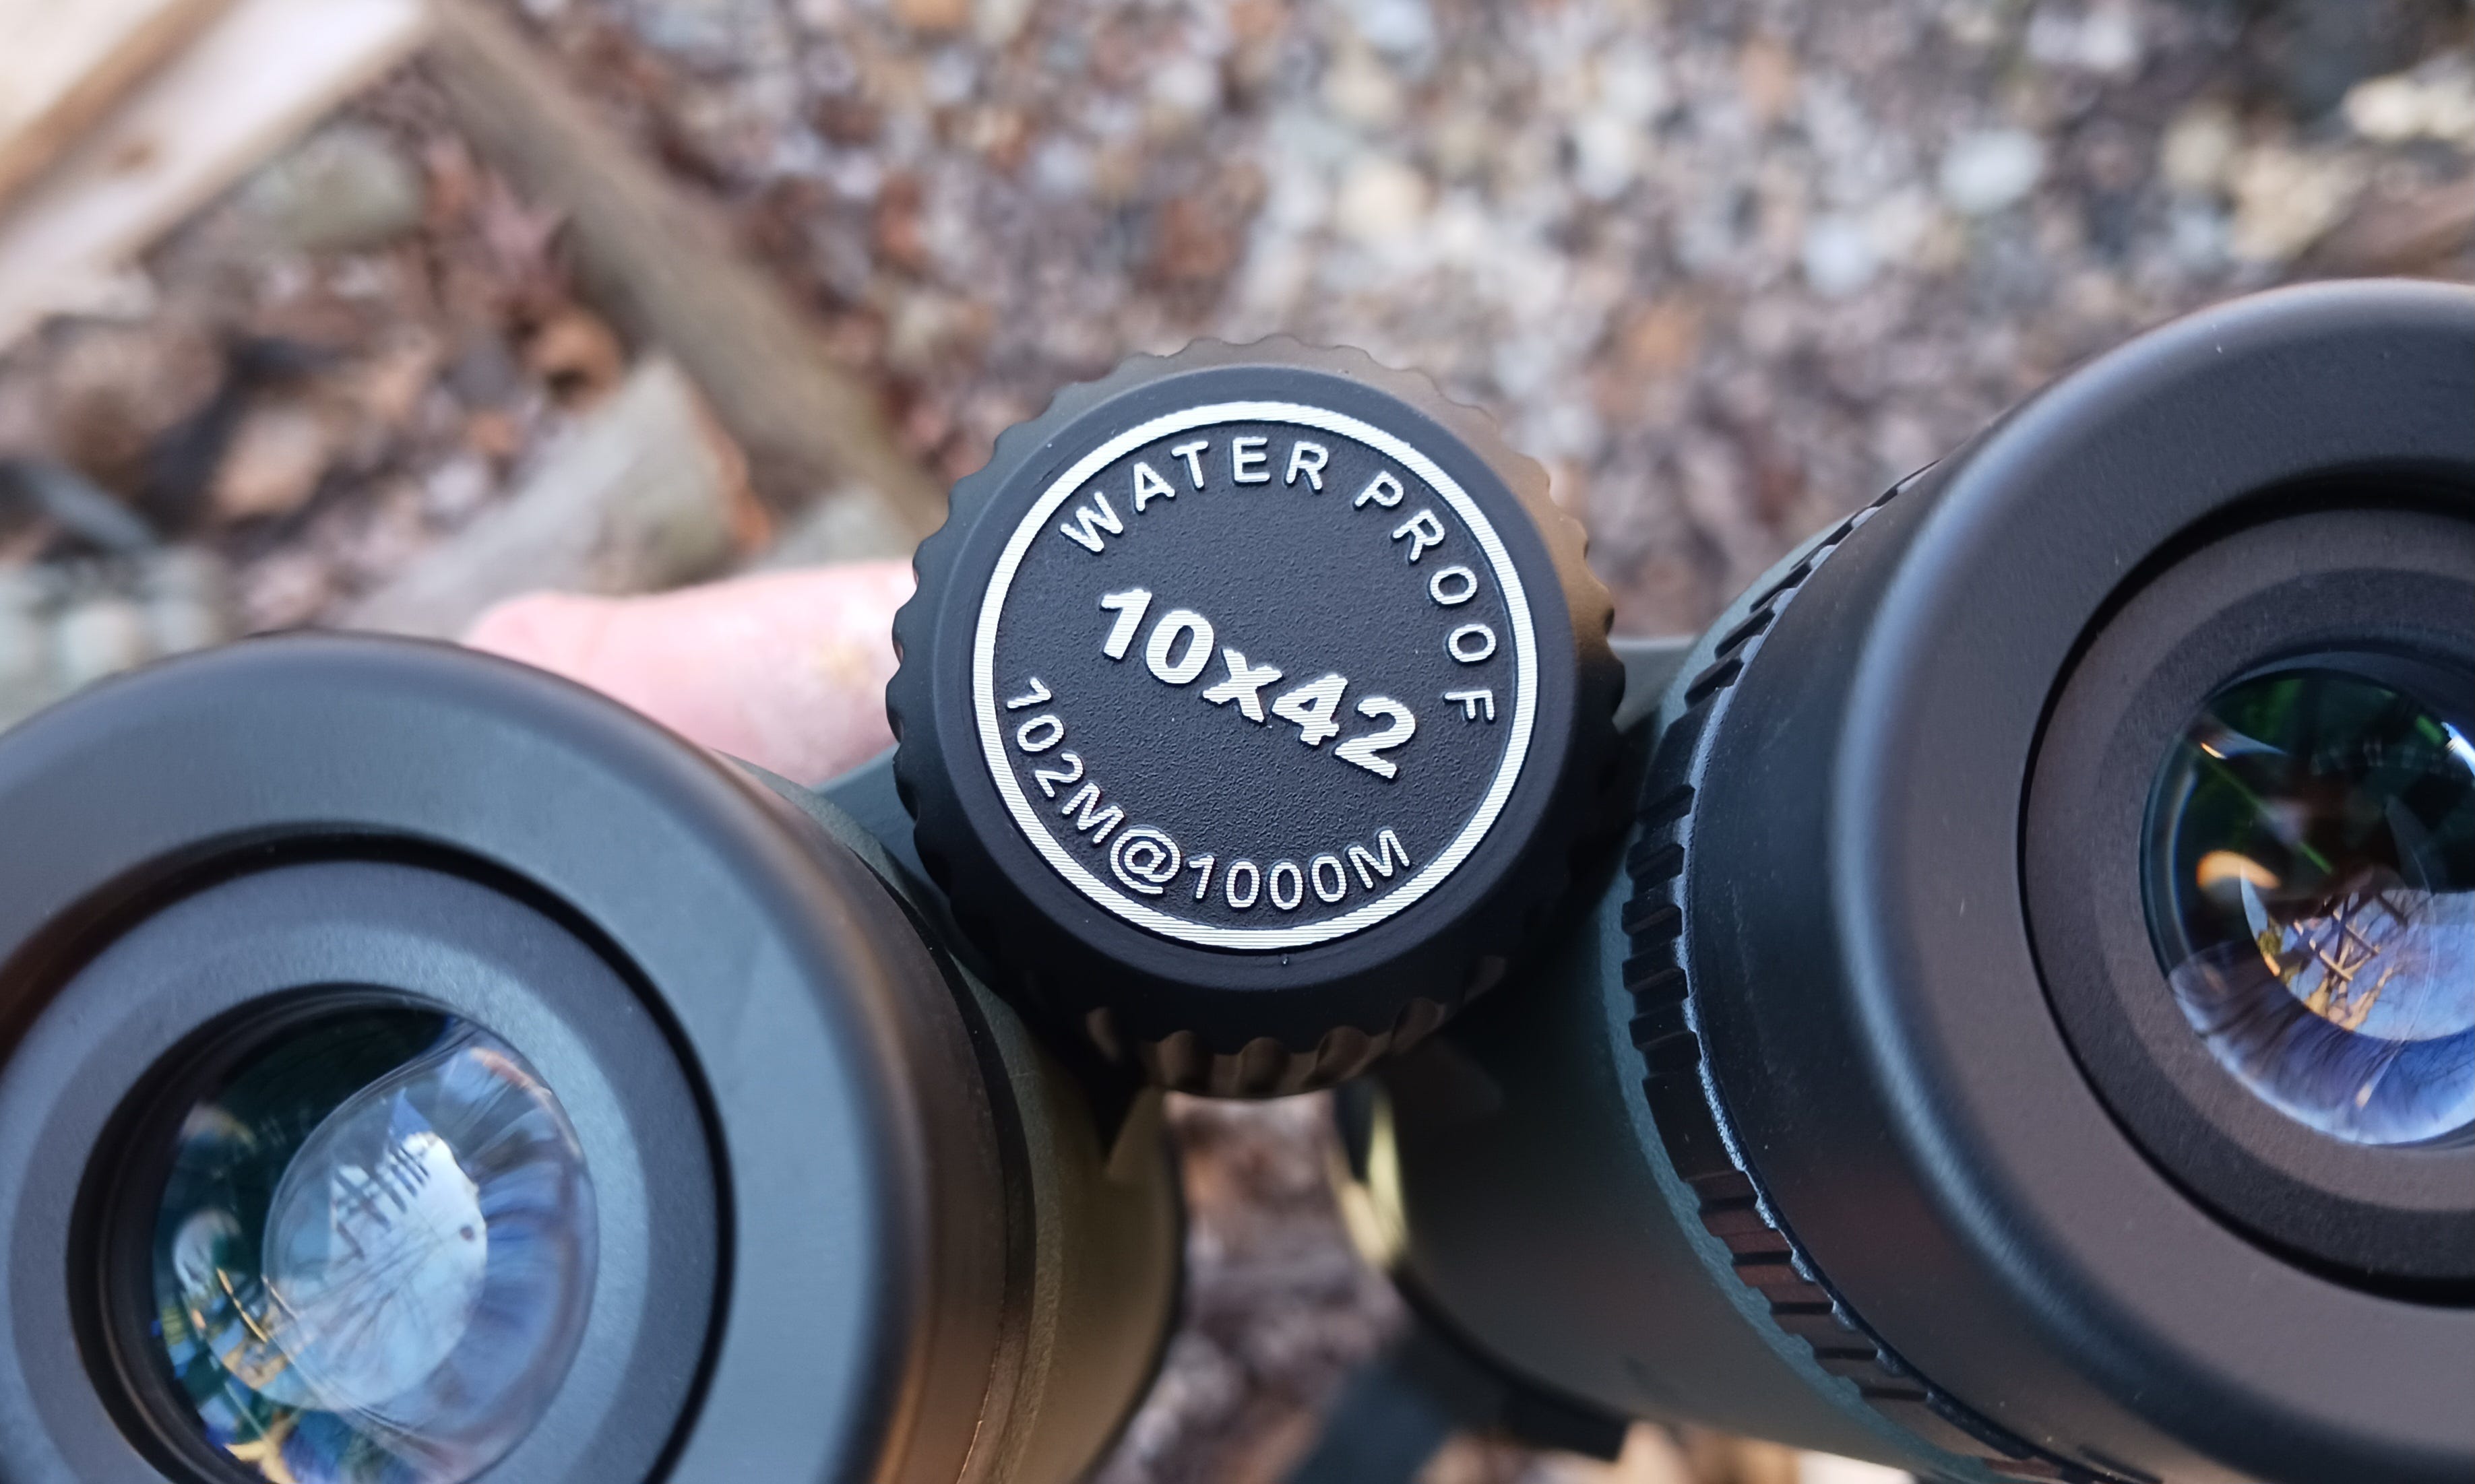
So, what does "7x35" or "8x42" even mean?
The number before the "X" is the magnification.
The number after the "X" is the size, in millimeters, of the objective lens.
Magnification means how many times as large or "close" the image will be compared to what you see with your eyes without the binoculars. But, as noted, it also magnifies any shake in your hands, causing the image to jump around while you're trying to get a look. The more you magnify the image, the jumpier it will get, and the smaller the piece of the world you will see in the image. But that's also how much larger the image of your target will be if you find it.
The size of the objective lens determines how much light the binoculars can "pull" in for your image. Popular belief is that this determines how bright and how well defined your image will be. The reality is a bit more complicated - it has to do with the size of the opening in the pupils of your eyes, the magnification, and the objective lens size. The diameter of the objective lens divided by the magnification yields the actual diameter of the shaft of light coming out of the eye piece of the binoculars to your eyes. This is called "Exit Pupil". If the pupil in your eye is smaller, then a portion of that shaft of light will bounce off the opaque part of your eye's iris and won't go into your eye. That light is "wasted" and won't make your image brighter. But the wider shaft makes it easier to "find" it and get your eyes to take in a full image. Also, if you use the binoculars for stargazing at night, the wider lens and exit pupil will let your eye's pupil get wider and still take it all in. During daytime use, your eye's pupil is normally about 2-3 mm wide, and any binoculars with an exit pupil that wide will produce an image about equally bright, popular belief to the contrary. At night, a young person's iris might open up as much as 7 to 9mm wide, while a middle aged (this is me) person's iris usually won't open up more than about 5mm. So a 5mm exit pupil will give you all you can use even at night if your pupil doesn't open beyond 5mm. Brightness can also vary with lens coatings and prism glass formula.
There's another thing about the size of the objective lens - larger objective lens also means bigger, heavier binoculars. As with magnification, there's a "sweet spot" in there that's best for you. Larger and heavier does make the binoculars steadier in your hand, and the image doesn't jump around quite as much. See the note earlier on those mini binoculars. But too big and heavy can make them tiring to lug around and fatigue your arms and hands when you're trying to hold them and look through them.
It’s best to try different sizes and weights for feel, comfort, how jumpy the image is, and find your own "sweet spot" for the right weight and easiest viewing.
Field of View: For a lot of folks, this can be VERY IMPORTANT. For years, w used your classic 7x35/8x35 porro prism binoculars with a very good field of view and was still often frustrated when I wanted to look at a specific object or for target PID (Positive Identification). I'd bring up the binoculars and focus, and find myself looking at leaves, twigs and branches. But which leaves and twigs and branches was I looking into? Where was the bird? The target? Was I able to adequately ID what I was looking at? And that was with a very good field of view. Many binoculars have higher magnification, which means they zoom in more on their target, filling your image with a smaller piece of the real world, a smaller Field of View. This is typically measured in how many feet across you can see at 1,000 yards distance. With lower magnification, you can see more real estate, more feet across at 1,000 yards. That makes it easier to find your target, even though it will look smaller. With higher magnification, that chunk of real estate is smaller but your target looks larger, if you can find it. It's a trade-off and depends on your level of skill at finding your target in the binoculars.
Note - field of view does correspond with magnification, but not EXACTLY. Always note the specifications of the binoculars and the advertised field of view in the literature from the manufacturer or seller. Some 8x binoculars don't have more field of view than some other 10x binoculars. They do vary somewhat depending on design.
Coatings: All binoculars, even the cheapest, offer at least some anti-reflective coatings on at least some of the lenses to reduce light loss through reflecting when the light should be passing through the lenses and prisms. More expensive binoculars have fancier, more effective coatings that let more of the light through. Most mid-price and high-price binoculars boast "FMC" meaning Fully Multi-Coated on all air-to-glass surfaces of lenses and prisms, letting the most light through.
Now, I have used Binoculars from Steiner, Zeiss, Swarovski, Nikon, Vortex, and more and you do not need to spend a lot of money to get into good, solid binoculars. This is one of those areas that spending $80 or $1000 will not be the difference if you die or not. Shop around, try out different pairs, and buy what you can afford. You will not be disappointed with a $100 pair of BCA binoculars. I know i’m not!
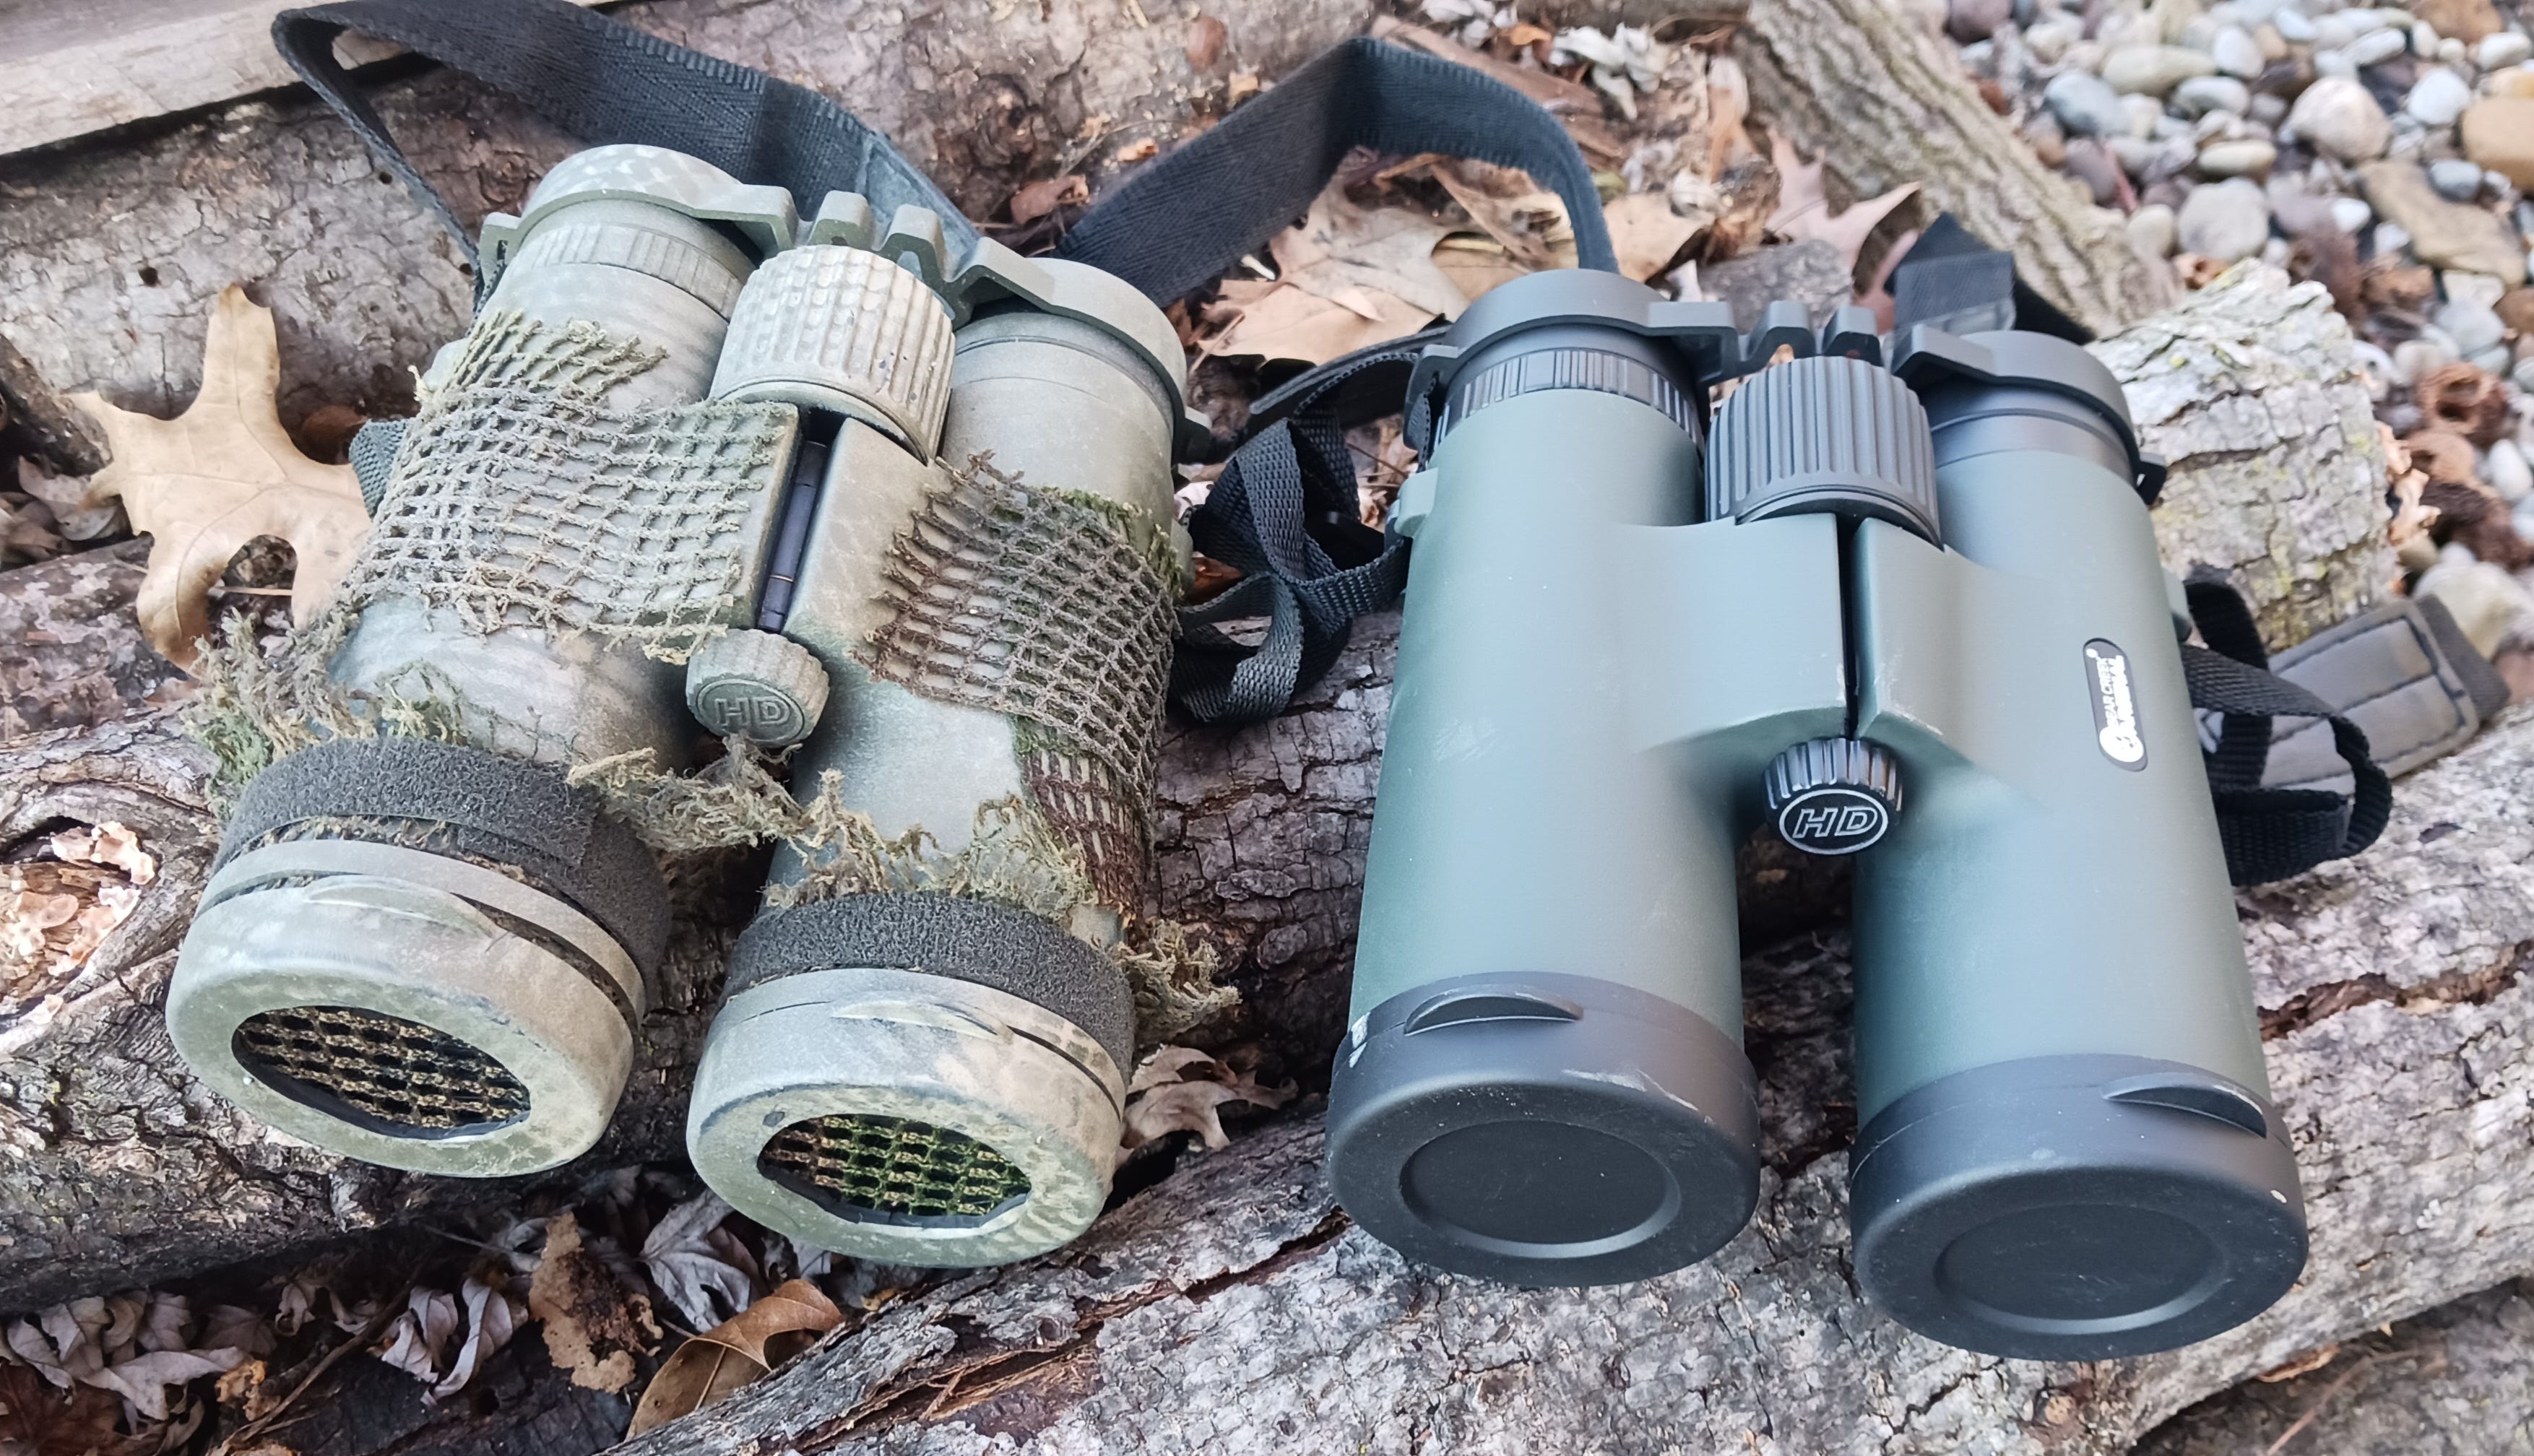
Shop my Binoculars here: